


Installation Requirement
For system requirement, please see the System Requirements section.
Installing WebInput 4

Intersoft has released the new setup installer which includes WebUI Framework 3, WebGrid Enterprise 7, WebCombo 4, WebInput 4, WebDesktop 3, WebTreeView, ISDataSource, WebScheduler 3, WebAqua 2, WebTextEditor, WebEssentials and ClientUI components.
Here are the step-by-step instructions to install WebInput 4:
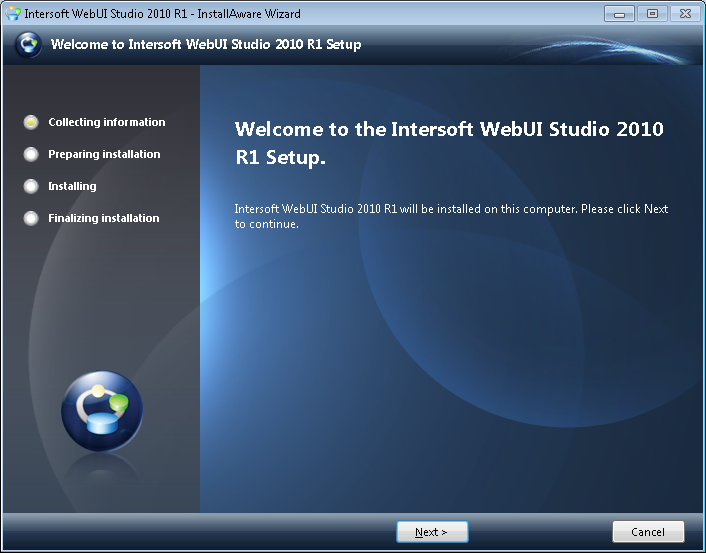
- Double click on the "intersoft webui studio 2010 r1.exe" icon to start the installation process. Read the instructions, and click next.
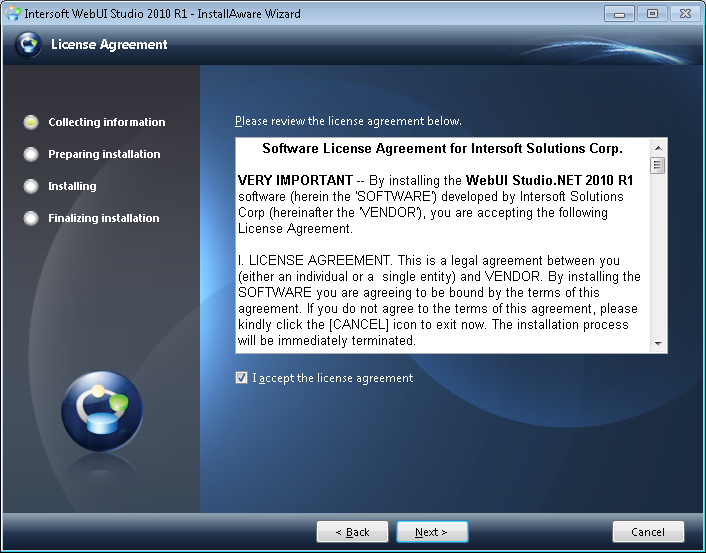
- Please read the license agreement. You must accept the terms in the license agreement in order to install WebInput 4.
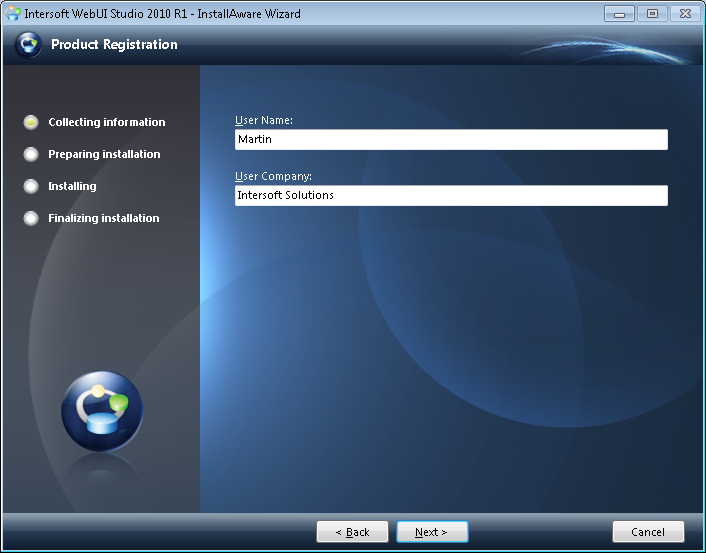
- Fill in your details such as User Name and Organization. Click Next to proceed.
- You can select the product edition and setup type that you would like to install and perform.
The product contains three editions such as WebUI Studio for ASP.NET, WebUI Studio for Silverlight and WebUI Studio for WPF.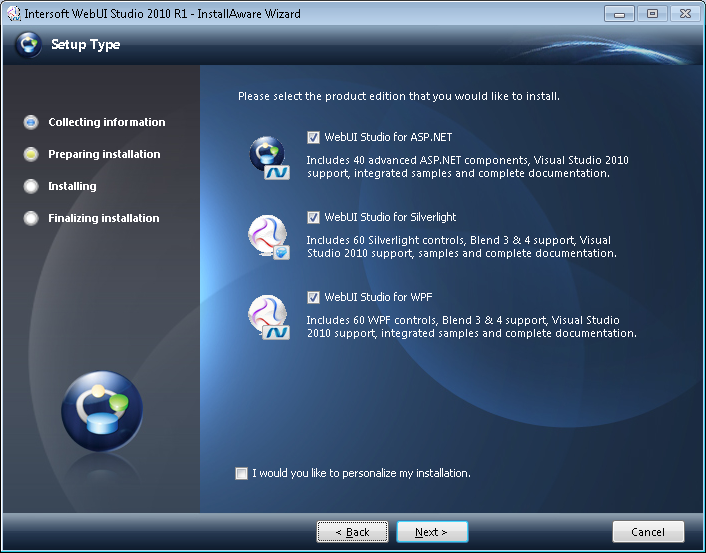
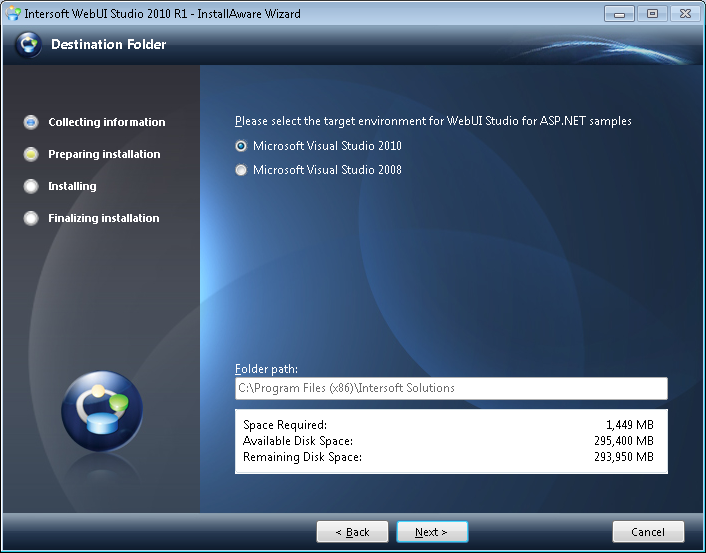
- You can select the target environment for the samples, either Microsoft Visual Studio 2008 or Microsoft Visual Studio 2010.
- You can also customize the Start Menu group and choose to create shortcuts for all users or just for yourself.

- Click Next to proceed with the installation process.
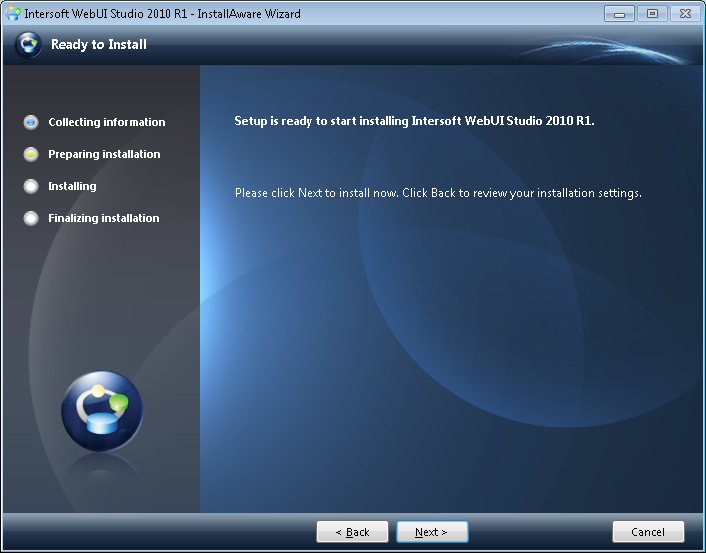
- The wizard is installing WebUI Studio 2010 R1.

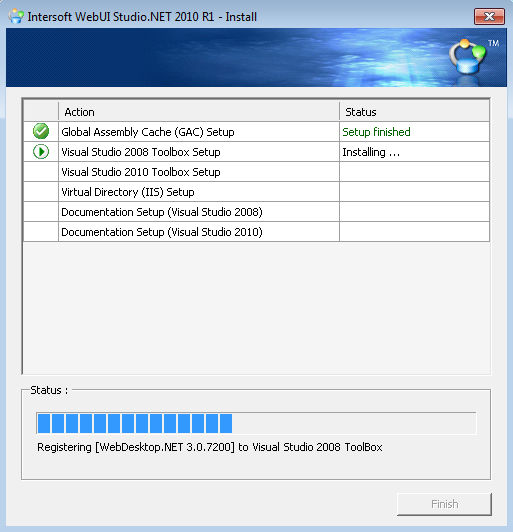
- A window showing the installation progress appears. It will list the status of components that are being installed.
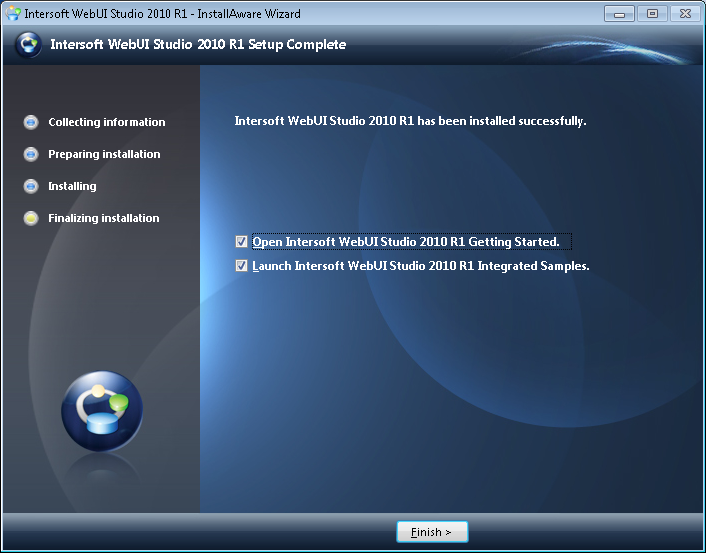
- After the installation process has been finished, you will see a confirmation window. Click Finish to close the window. At this rate, you have successfully installed the Intersoft WebUI Studio 2010 R1.
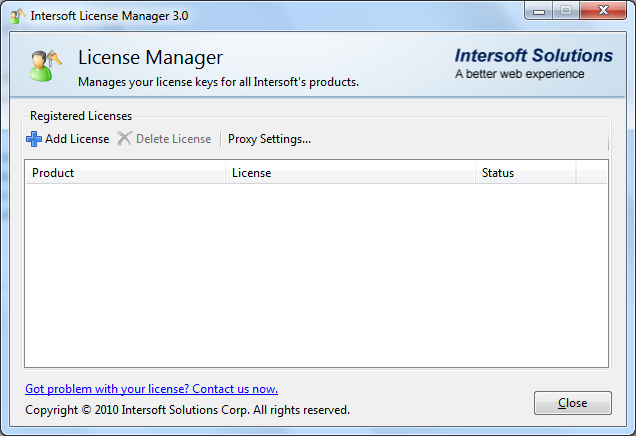
- To install the full version of WebInput 3, proceed by using License Manager that can be triggered from Start menu >> All Programs >> Intersoft WebUI Studio 2010 R1 >>License Manager.
- Intersoft License Manager window will appear. Click "Add License" to proceed to the next step.
- Now, Select a product from the combo box. In this case, select WebInput Version 4.0.7200 and enter the license according to the component.
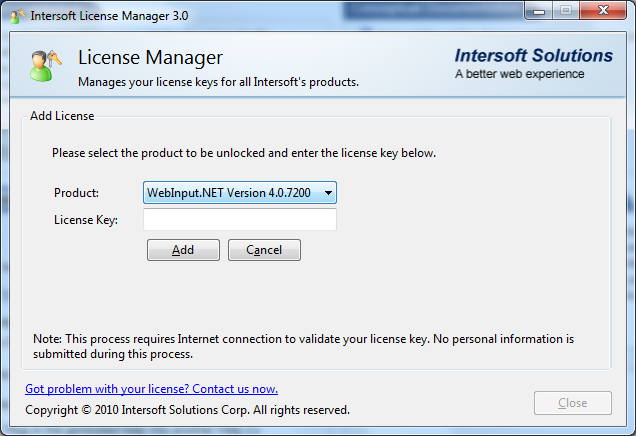
- Click Add and it will automatically check the license with the server through internet connection. If it is correct, then you have successfully installed the full version of WebInput 4.